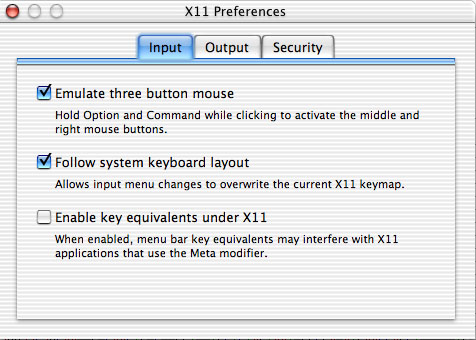
I use pico, which comes with MacOS X for all my editing steps, which are done via the Terminal.
Example files for csh.login, profile, Xresources, and xintrc are provided.

UNLIKE previous versions this installer can be run from any location on the same Volume (Hard Drive)
that you are installing it to, i.e. it NO LONGER needs to be on the desktop to work.

1)  You will need root or sudo access for this step. Copy the Xview libraries in
   /lib to the /usr/openwin/lib/ folder. Type the following, if the macgde directory is on your desktop,
   without quotes in the terminal application:
   "sudo cp Desktop/lib/*.* /usr/openwin/lib/"

2) The .GDEmenus are in the GDE2.2/GDEHELP folder. If a user needs to customize the menus then they can
   place a copy in their home directory, this will override the one in the GDEHELP folder.
   Otherwise leave them alone.

3) In your shell, tcsh or bash, you need to place the path where macgde is located,
e.g. /Applications/GDE2.2/bin /Applications/GDE2.2/bin/phylip /Applications/GDE2.2/bin/fastDNAml /Applications/GDE2.2/GDEHELP.
Also, be sure that /usr/X11R6/bin /usr/X11R6/lib are in your path. If in the tcsh shell these go in the csh.login file for the
bash shell these go in the profile file. Both are located in the /etc directory. You will need to be root or use sudo access to do
this step. Look at the examples to see how these should be set up.

4) For the tcsh shell add setenv GDE_HELP_DIR /Applications/GDE2.2/GDEHELP on its own line, and
setenv TACGLIB /Applications/GDE2.2/bin/tacg_data on its own line to the csh.login file in the /etc directory.
For the bash shell add export GDE_HELP_DIR=/Applications/GDE2.2/GDEHELP on its own line, and add
export TACGLIB=/Applications/GDE2.2/bin/tacg_data on its own line to the profile file in the /etc directory.
You will need to be root or use sudo access to do this step.

5) For the tcsh shell place the command "unlimit" on its own line in the csh.login file in the /etc directory.
For the bash shell place the command "ulimit unlimited" on its own line in the profile file in the /etc directory.
This is needed to a prevent SEGMENTATION FAULT by findall and other programs. You will need to be root or use sudo access to do this step.

6) Some preferences need to be set for the XTerm window so that you can scrollback when PAUP,
Mr. Bayes and other programs that run in the XTerm you need to do some editing in the /usr/X11R6/lib/X11/xinit directory.
You will need to be root or use sudo access to do these next two steps.

7) Create a Xresources file in /usr/X11R6/lib/X11/xinit and place the following lines (my preferences for how the xterm window should look)
   XTerm*geometry: 90X40+20+40
   XTerm*saveLines: 2000
   XTerm*scrollBar: true
   XTerm*rightScrollBar: true

8) In the xinitrc found in the /usr/X11R6/lib/X11/xinit directory add the following line
   xrdb -nocpp -load /usr/X11R6/lib/X11/xinit/Xresources
   then add -ls to xterm & so it look like this
   xterm -ls &

9) Launch X11.app and in the resulting xterm window type macgde then hit return to start.
9a) Now the xterm set up should be the same for everyone unless they make there own .xinitrc and
.Xresources and everyone should be reading the path structure from the csh.login (tcsh) or profile (bash) in the /etc directory.

10) Set the preferences in X11.app as follows: